
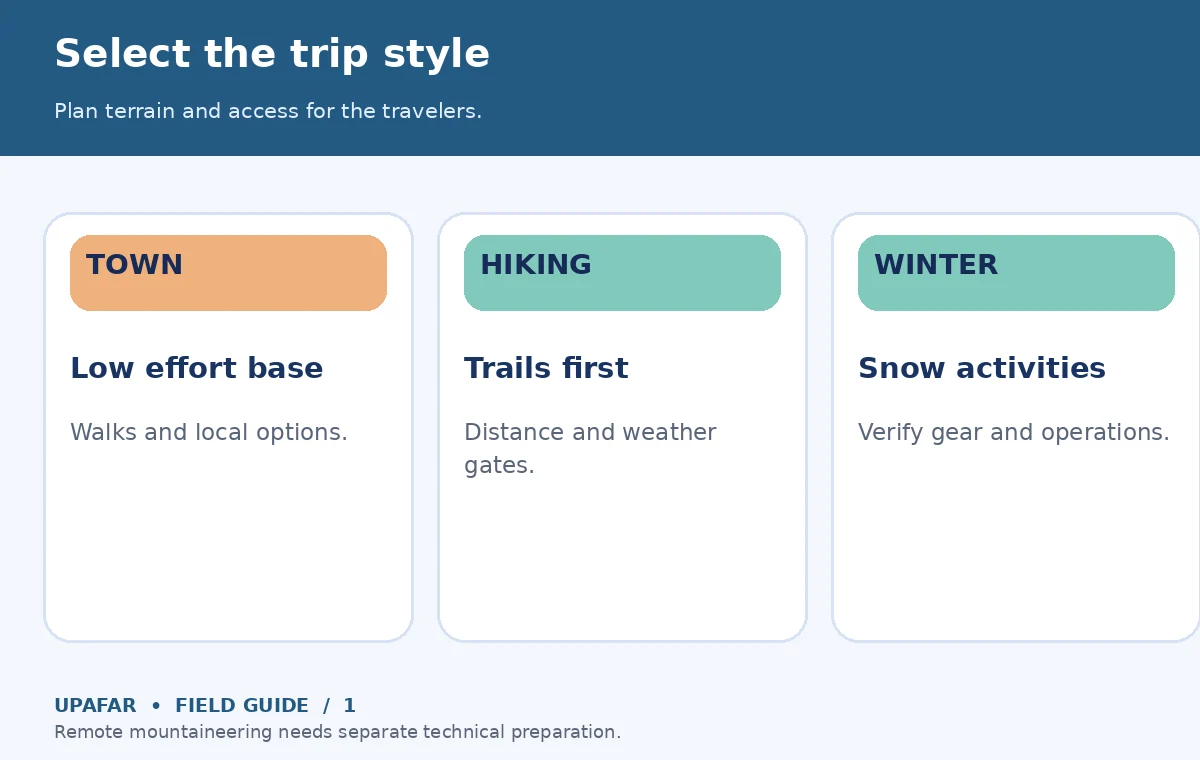
A mountain vacation works best when you select a comfortable base and activities that match the season, elevation and travelers—not when you simply pack the longest possible list of viewpoints. Choose first between a relaxed mountain-town stay, a day-hiking trip, a winter-sports holiday and a higher-altitude adventure. Their transport, weather, gear and health needs differ substantially. A good plan has a **primary outdoor day, a lower-effort alternative, and an explicit point at which you turn back** if conditions change.
Choose the type of mountain trip before the destination
For families and mixed-fitness groups, a town base with accessible walks and nearby viewpoints provides options if someone is tired or the weather turns. A hiking-focused trip requires realistic trail distances, daylight estimates and terrain checks. A snow trip may need activity-specific instruction, equipment and knowledge of operating lifts or local access rules. A remote backcountry trip raises a different level of navigation, communication and rescue-planning complexity; do not treat it as a routine scenic outing. Match your lodging to the days you actually expect to spend outside rather than assuming the highest hotel is the most convenient.
A decision worksheet starts with three entries: typical activity duration, longest tolerable transfer and maximum sleeping elevation appropriate for your itinerary and health circumstances. For an unfamiliar area, compare road access and nearby lower-elevation alternatives before selecting accommodation. Mountain road closures, trail conditions, park permits and activity operations change with season and weather; obtain current information from land managers and operators, not old travel blogs.
Separate sleeping elevation from the day's highest point
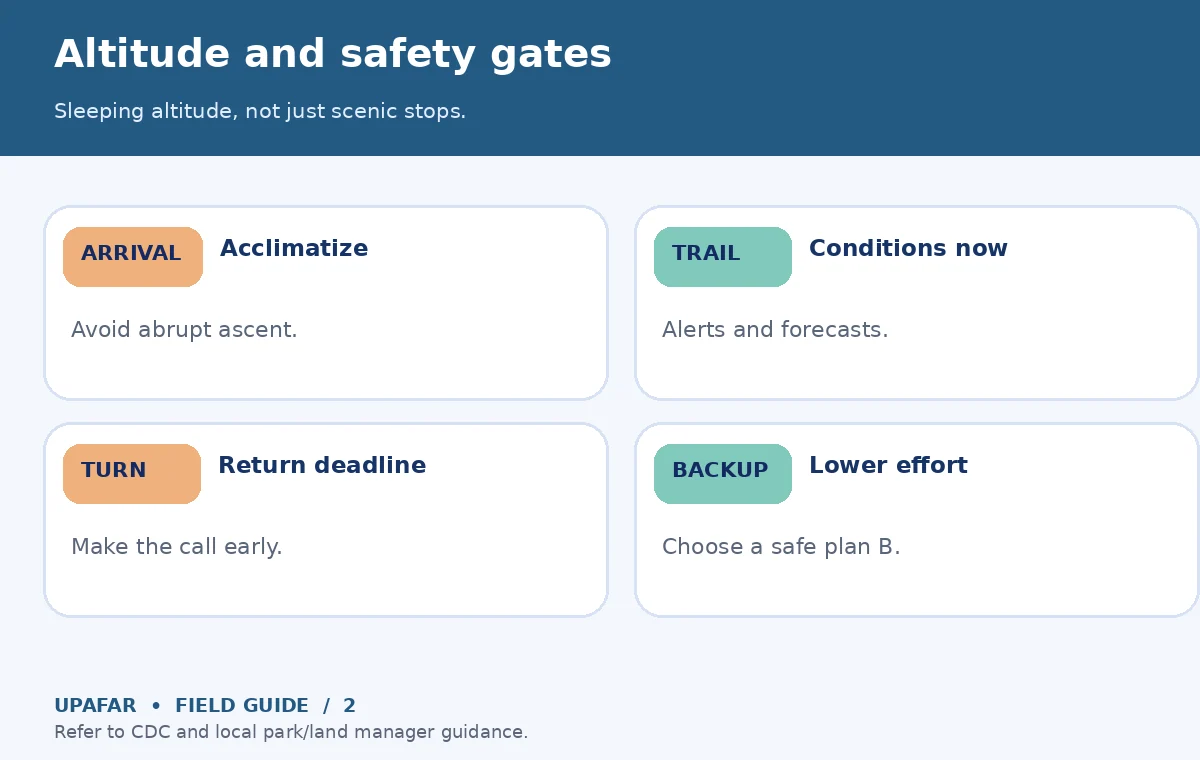
Altitude needs special attention for mountain itineraries. The CDC’s high-altitude advice notes that travelers above roughly 8,000 feet can develop altitude illness, and gradual ascent reduces risk. Sleeping elevation and ascent rate are especially important; a brief excursion to a viewpoint followed by sleeping lower may impose a different burden than spending the night high. Do not infer protection from fitness or from previously completing a strenuous sea-level hike.
For many high-altitude routes, the CDC recommends allowing a few days around 8,000–9,000 feet before sleeping higher, and avoiding rapid increases in sleeping elevation above that level. The detailed CDC Yellow Book guidance provides clinician-facing recommendations, including sleeping-altitude gain limits and rest nights for certain itineraries. These are not one-size-fits-all instructions. If a trip requires abrupt ascent, includes significant underlying illness, or brings children who may not describe symptoms reliably, consult a qualified clinician ahead of time.
Headache together with nausea, fatigue or poor appetite can be a warning sign at altitude. Do not continue ascending with symptoms that could indicate altitude illness; seek medical guidance and descend when indicated, especially for worsening symptoms. Confusion, difficulty walking or breathlessness at rest can signal serious illness needing urgent help and descent. No itinerary or article replaces a medical assessment, and this guide does not prescribe medication.
Check exposure, trail conditions and a way out
Mountain forecasts can change faster than conditions in nearby towns. The National Park Service’s Hike Smart advice recommends checking alerts, carrying appropriate layers, preparing an emergency plan and not relying entirely on cell service. Before each walk, check local trail status, recent weather, river or snow crossings and the time of sunset. A safe trail in midsummer is not automatically safe in a shoulder season or after storms.
Choose a turn-around time before setting out. If the group reaches that time without reaching the planned destination, reverse course rather than racing darkness. Store an offline map, tell a responsible person your plan where appropriate, and make sure someone knows how to seek assistance in the destination. For exposed routes, find out when thunderstorms or high winds most often affect the area; use official local forecasts rather than generic assumptions about mountain climates.
Plan a three-day vacation with weather flexibility
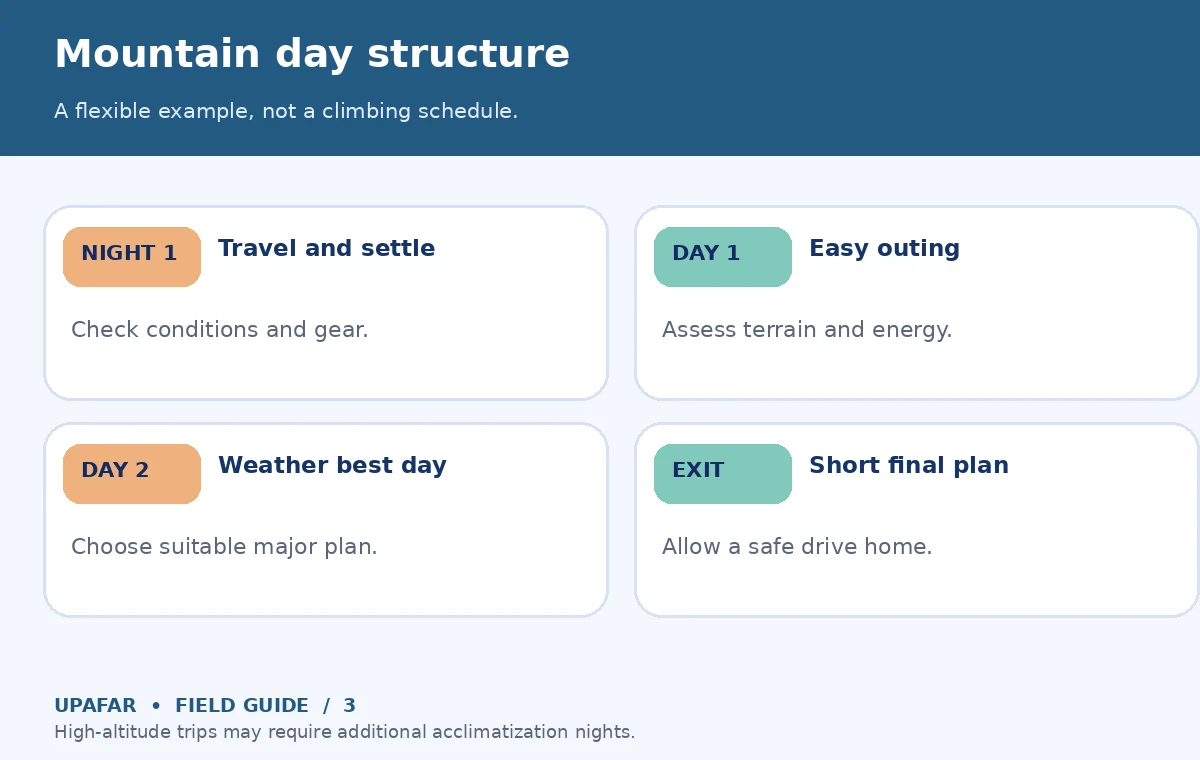
For a three-night mountain-town stay, use the arrival evening to check conditions, organize gear and sleep. On the first full day, choose a modest low-exposure hike or scenic activity that helps everyone assess terrain and effort. Place the most weather-dependent outing on whichever subsequent day has a suitable forecast rather than tying it to a nonrefundable reservation by default. Use the final full or partial day for a shorter local activity so a long return drive does not follow an exhausting hike.
At higher elevations, the sequence may need additional acclimatization days; a three-day outline is not enough for every altitude-sensitive itinerary. At any elevation, do not automatically chain a strenuous trail and a long mountain drive. Add time for parking, queues, slow road sections, weather detours, packed lunches and gear returns. When comparing two bases, estimate door-to-door time to your priority trailheads and indoor alternatives, not just straight-line map distance.
Pack for the specific conditions, not the photograph
A sensible day kit often includes appropriate footwear, rain and wind protection, warm layers, water, food, navigation, sun protection, and a light or headlamp. Cold temperatures, strong sun and low humidity can coexist in mountains, even in seasons that look mild in promotional images. Check whether you need traction devices, avalanche training, technical clothing or specialist equipment; do not assume lightweight urban hiking gear is suitable for snow or exposed terrain. Borrowing or renting specialized gear can be sensible, but first confirm fitting, availability and operator terms.
Do not treat a standard phone as guaranteed emergency communication. The NPS explicitly warns that cellular coverage may be absent. Consider your destination’s emergency response options and an appropriate backup communication plan, especially for remote areas. If local officials close a trail or advise against an activity, replace it with your predetermined backup rather than improvising a shortcut.
Choose the trip that will still work in poor weather
Consider three profiles. A couple focused on scenery may enjoy a walkable town with rail or road access to several viewpoints. A family with small children may prioritize a low-elevation base, short outings, and indoor activities close to the hotel. Experienced hikers may value proximity to trailheads and time flexibility but must still assess conditions and skills. For every profile, identify one low-effort or indoor substitute for each weather-sensitive day. If no safe or appealing alternatives exist and travel dates are fixed in a risky season, consider a different base or destination.
Your final check should answer: what elevations are involved, what conditions could cancel the marquee activity, how far is the nearest realistic plan B, and what information must be rechecked on the morning of the outing? Avoid making a summit the sole measure of success. A vacation with relaxed days and reversible plans can be more satisfying than a peak-focused schedule that collapses after one storm.
How We Research mountain trip choices
We reviewed CDC traveler high-altitude guidance and the 2026 CDC Yellow Book together with U.S. National Park Service hiking-safety material on October 19, 2026. Their guidance supports risk-aware planning, not a prediction about any individual traveler’s medical tolerance or a particular mountain’s conditions. No destination-specific permits, forecasts, activity operations or hotel availability were verified here; always consult local official sources. There are no claimed commercial partnerships; see our affiliate disclosure.
Frequently Asked Travel Questions
It can be with appropriate low-risk activities, weather and trail checks, suitable gear and realistic decisions about when to turn back.
The CDC identifies risk around 8,000 feet and above, with individual variability. Sleeping elevation and rate of ascent are important; seek individual medical advice.
No universal approach works. Reserve essential limited-capacity activities where required but keep weather-sensitive plans flexible and review cancellation terms.
Do not rely on reception; the National Park Service warns coverage may be absent. Carry appropriate offline navigation and an emergency communication plan.
Choose a safe lower-elevation or indoor activity near your base. Never bypass closures or warnings simply to preserve an itinerary.